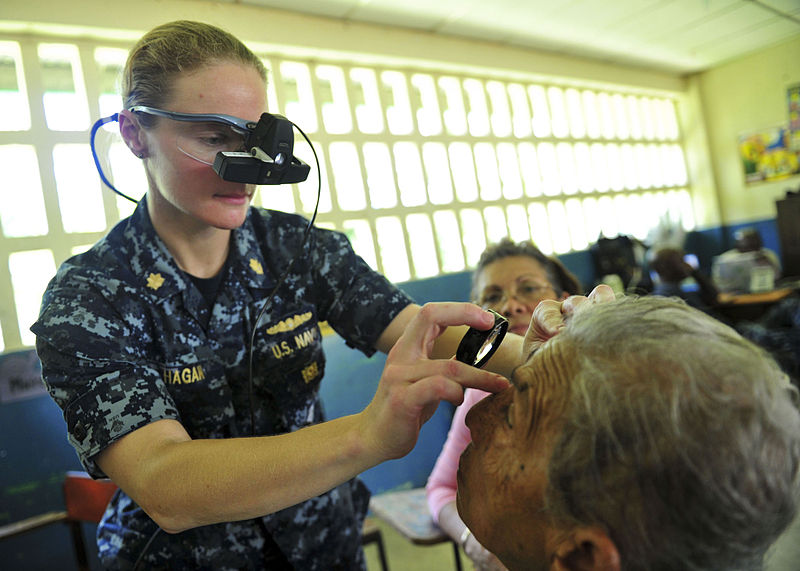
Pre-requisite for indirect ophthalmoscopy is that one should posses indirect ophthalmoscope kit with indenter of lens, color pencils, fundus chart on clipboard.
- It is always better to examine the patient in lying posture as enough space is required around the couch to rotate
- Familiarize with instrument and its knife
- Introduce and take consent
- Wear indirect ophthalmoscope and set knob for 135 V
- Set IPD
- Choose correct diameter (aperture) of light
- Light should be slightly below the rectangle you can see
- Put fundus chart with clipboard on chest of the patient with 12’O clock towards feet of the patient and place color pencils (red, blue, black, green, yellow, brown)
- Tell the patient to look straight towards the reference and reassure he shall be comfortable.
- Dim the lights
- Hold the lens in left hand and place the flatter side towards the patient’s eyes and see the red reflex for any media opacity.
- Dazzle the eye with light: Put the light in patients eye but keeping the +20 D lens 6.5 cm away from his eyes to dazzle the retina. The patient will look up to avoid light. Let him do so and in the mean time you should try to see superior fundus as additional mark by the way.
- Where the retina is dazzled again ask him to look straight towards roof. Now examine the fovea. If on, then put a + sign in the center of the chart and draw the disc on the side you are seeing it (at this time chart will be sketchy). Now examine whole of the posterior pole and draw as you see.
- Now, for example, if you are examining the left eye, go to left inferior side to the left supranasal retinal while the patient is still looking up and draw what you see in the same corner at which you are standing on the chart exactly in relation to what you are looking at. Here you will draw only upto first circle (equater)
- Now ask the patient to look away from you in the quadrant you are examining. Draw in between the first and second circle exactly what you see in the corner you are standing.
- Now put on the indenter on your index finger of right hand and ask the patient to look toward you. Now place the indenter on the quadrant you are looking at, about 5-6 mm away approximately above the margin of superior tarsal plate and then ask him to look in the direction of indenter. Now press the indenter by flexing the carpo-metapharngeal joint. Pull the lower lid and now see the ora-serrata and draw it on outermost circle. The quadrant is finished.
- Now shift to inferior-nasal, then supratemporal then infratemporal quadrant around the patient and keep on following 3 steps of indirect ophthamloscopy and draw the findings as you see them in relation to each other in the corner of chart which points towards you. Do not change the position of the chart on the patients chest.
- Switch on the lights. Turn off the indirect ophthalmoscope. Thank the patient and make him comfortable. Now complete the drawing of your chart with the help of sketches you have drawn. Write patient’s name on it and the eye you have examined and date/time.

Image courtesy of
 howMed Know Yourself


